Get your complimentary lighting design today
Table of Contents
TogglePower: 1000W
Lumens: 160,000 lumens
Color Temperature: 5000 K
Color Rendering Index: 85
Replace: 2000W Metal Halide
Beam Angle: 15° / 25° / 45° / 60° / 90°
Life Span: 100,000 hours
Warranty: 10 years
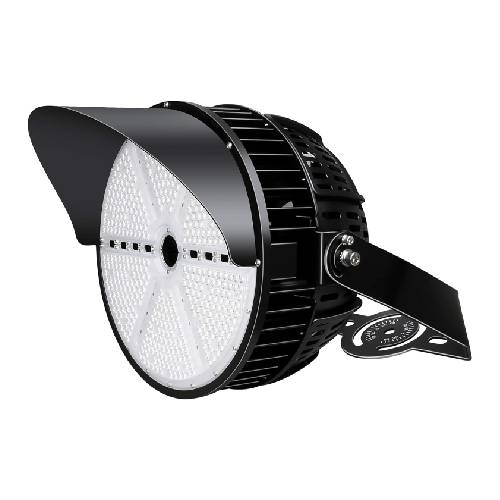
This 1000-watt LED stadium light boasts a high efficacy of 160 lumens per watt, delivering an impressive 160,000 lumens of high light output. It is designed to replace a 2000-watt metal halide sports light. The dimmable feature (1-10V) allows for farther irradiation distances and more focused beam lighting. The brightness of this LED light is several times higher than traditional lights, yet it can save up to 80-85% on electricity costs.
Built with patented technology, this stadium light is designed to last over 100,000 hours, providing shadow-free and anti-glare illumination. The uniform and quality vertical luminance makes it ideal for high-standard photo and video capture. This LED stadium light outlasts traditional metal halide and high-pressure sodium lighting fixtures by 5-6 times, reducing the need for frequent replacements and saving money in the long run.
The LED floodlight features heavy-duty die-cast aluminum housing with an epoxy coating and a tough polycarbonate prismatic lens. Its heat dissipation system and 12KV surge protection ensure excellent heat management and long-lasting performance.
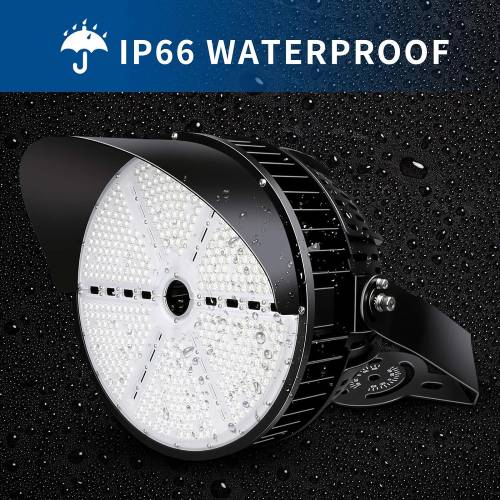
This LED sports light is shatter-resistant and anti-corrosion protected with an IP66 rating, making it suitable for all weather conditions. It is perfect for illuminating large stadiums and sports facilities, such as basketball courts, tennis courts, soccer fields, and other extensive areas requiring substantial light. The light comes with a U-bracket mounting system, allowing for quick and easy installation in just 3 minutes.
We assure you that this LED stadium light has undergone rigorous testing to meet the highest standards. It comes with a 10-year warranty, providing peace of mind and assurance of quality. If the product fails within the first 10 years from the date of purchase, it will be replaced free of charge. The light features an instant-on function with no warm-up time and a narrow beaming angle for precise illumination.
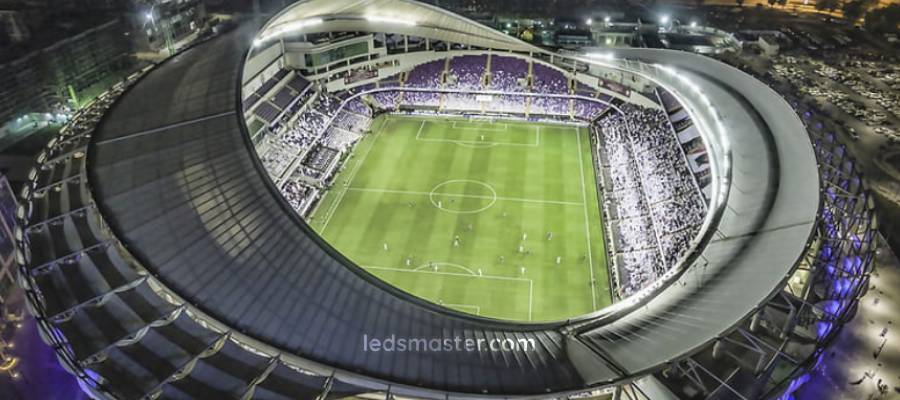
Installing 1000W LED stadium lights requires careful planning and attention to detail to ensure proper functionality and safety. Follow these steps to install your lights correctly:
Before beginning the installation, thoroughly plan and prepare for the task. Start by assessing the area where the lights will be installed. Consider the height, angle, and coverage area to ensure optimal lighting. Accurate placement is crucial for achieving uniform light distribution and minimizing shadows. Gather all necessary tools and materials beforehand, including a ladder, wrenches, screws, and electrical components. Ensure you have the appropriate mounting brackets and hardware compatible with the lights.
Safety is paramount when working with electrical installations. Begin by shutting off the power supply to the area where the lights will be installed. This precaution helps prevent electrical shocks and accidents. Next, verify that the electrical system can handle the load of the 1000W LED lights. Consult a professional electrician if necessary to ensure the wiring and circuit breakers are adequate for the new installation. Ensure all connections are secure and adhere to local electrical codes and regulations.
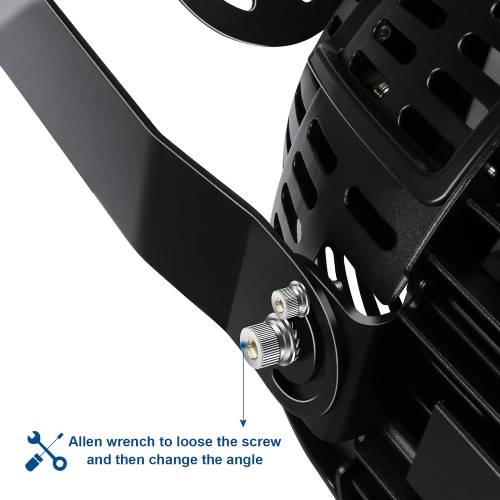
With the planning and electrical preparation complete, proceed to mount the lights. Attach the U-bracket mounting system to the LED stadium lights, ensuring it is securely fastened. Use the appropriate screws and bolts to fix the brackets to the designated mounting points, such as poles or walls. If the lights are to be mounted at a significant height, use a stable ladder or scaffolding to reach the installation area safely. Align the lights to achieve the desired angle and coverage, making adjustments as necessary.
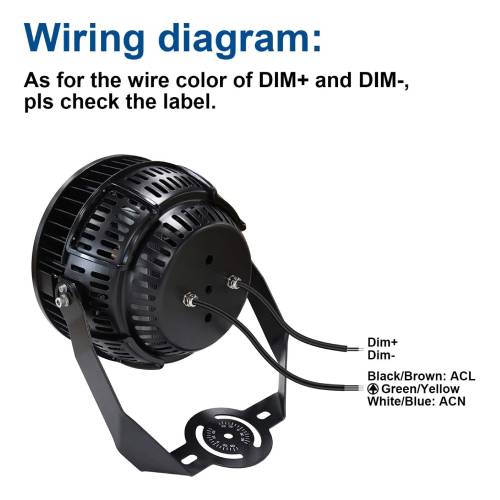
Once the lights are mounted, connect the wiring. Strip the ends of the wires and attach them to the corresponding terminals on the LED lights. Follow the manufacturer’s instructions for proper wiring connections. Ensure all wires are securely fastened and insulated to prevent short circuits. If the lights have a dimmable feature, connect the dimming wires according to the specifications. After completing the wiring, double-check all connections for accuracy and security.
With the lights installed and wired, restore the power supply and test the lights. Turn on the lights to ensure they operate correctly and provide the desired illumination. Check for any flickering, dimming, or irregularities in the light output. Make any necessary adjustments to the angle and direction of the lights to achieve optimal coverage. If the lights are not functioning as expected, recheck the wiring connections and consult the manufacturer’s troubleshooting guide.
After confirming the lights are working correctly, perform final checks to ensure everything is secure and safe. Inspect the mounting brackets and fasteners to confirm they are tightly fixed. Verify that all wiring is properly insulated and safely tucked away. Schedule regular maintenance checks to keep the lights in optimal condition. Clean the lights periodically to remove dust and debris that could affect their performance. Regularly inspect the wiring and connections for signs of wear or damage.